Data Models
Data Models provide you the ability to create custom data structures that meet your business needs with the intent of allowing you to tag variable documents.
Access Data Models
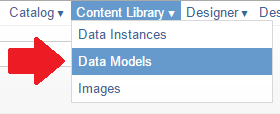
Click on the Content Library then Data Models menu option.
Create a Data Model
- First access the Data Model screen as described above.
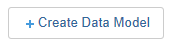
- Click the +Create Data Model option to display the Create Data Model dialog box.
Step 1: Configure the Data Model Wizard
The first screen in the "Create Data Model" wizard will look identical to the following.
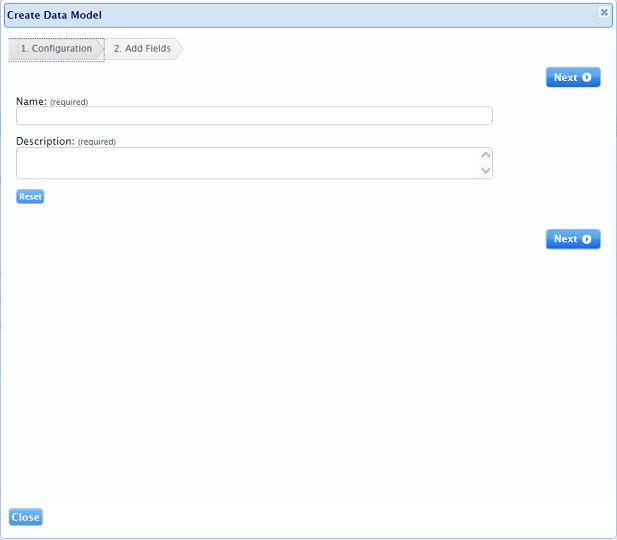
- Enter the Name of the Data Model
- Data model Names must be unique.
- Enter the Description of the Data Model
- The description helps other users to easily search and understanding the intent of this Data Model.
Note: Best Practice Tip
All Data Models have a mandatory Name & Description for administrative purposes to avoid confusing the mandatory "name and Description" field with fields you may want to create, we recommend using different names.
Once you are done, click "Next" to proceed to the next step
Step 2: Adding Data Model Fields
Now that you've named your Data Model, you have the opportunity to add your custom fields.
- Click 'Add Field" as shown below.
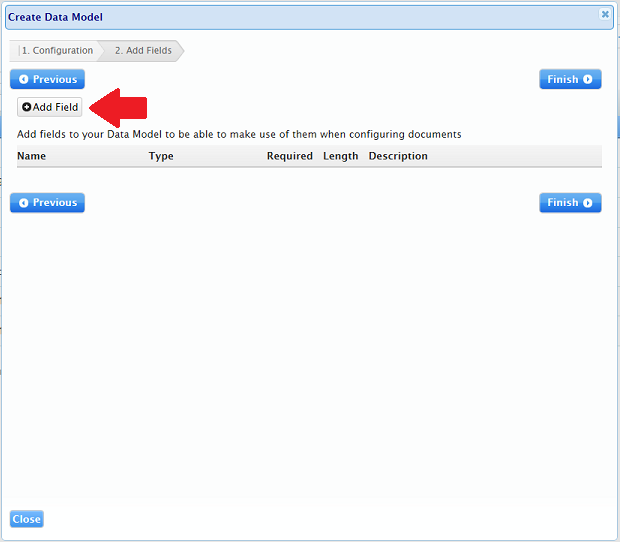
- The following dialog will appear
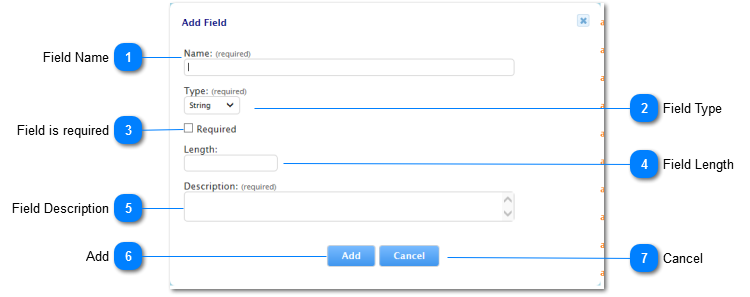
| Name | Description | |
| 1 | Field Name |
The name of the Field you wish to add. Fields must follow the following rules
|
| 2 | Field Type |
The data type will enforce what values can be entered when data instances are created. For example, adding a string in a number field will result in an error. The following data types are supported:
|
| 3 | Field is Required |
Check to option to make this a required field. Not required is the default option. |
| Field Length |
Optionally specify the length of this field. This option is only available for "String" and "Rich Text" field data types. Values that are greater than the specified length will not be allowed. |
|
| Field Description |
Input a brief description of this field. Descriptions help users that deal with Data Instances to understand the intent of a field |
|
| Add | Click the Add button to add the field. | |
| Cancel |
Click the cancel button to cancel the Add Field fields. You can always come back later and add another field |
Now that you've added your first field, go ahead and add a few more. To the right is a screen-shot of a Data Model with a few fields.
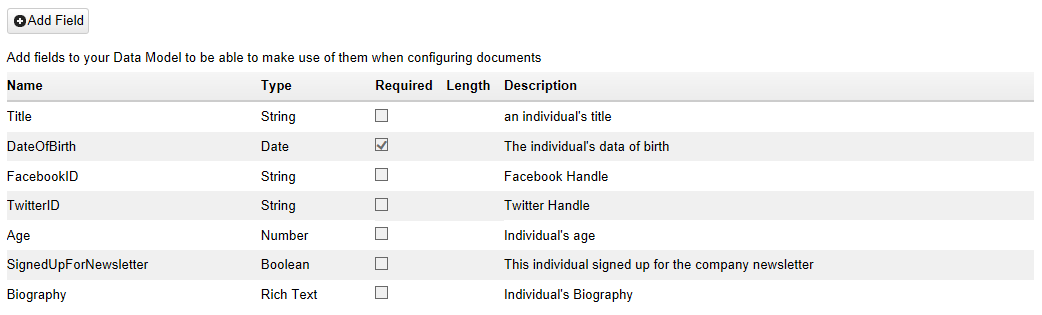
In the example above, the following fields have been added:
- Title (String)
- DateOfBirth (Date) is Required
- FacebookID (String)
- TwitterID (String)
- Age (Number)
- SignedUpForNewsletter (Boolean)
- Biography (Rich Text)
These rudimentary fields should give you a taste of how flexible the Data Model concept is and how you can customize it to meet your business needs.
Note: Once you've added all the fields you need, don't forget to click "Finish" to save your changes.
What's next?
Now that you've created your DataModel, you'll probably want to use it right?
Head on over to the "Data Instances" section for the next steps.
Frequently Asked Questions
How do I delete a field once I've created?
This isn't currently supported.
How do I make a field no longer required after I've created it?
This isn't currently supported.

©2022 DeskNet Inc.
Proprietary and Confidential Information